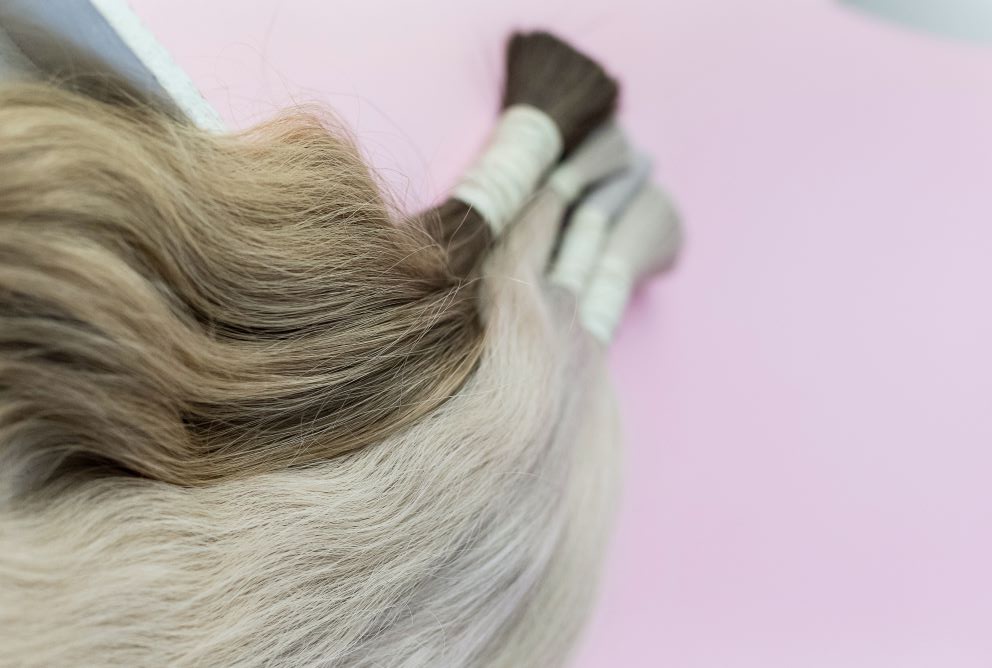
What are Tape in Hair Extensions?
Tape in hair extensions are a popular semi-permanent hair extension option for those looking to add length, volume, or thickness to their natural hair. Unlike other types of hair extensions, such as sew-in or clip-in extensions, tape-in extensions are virtually undetectable and can last for several weeks before needing to be readjusted.
The process of installing tape-in hair extensions involves several steps, including selecting the right extensions, preparing the hair, and attaching the extensions to the natural hair. In this article, we’ll walk you through the tape-in hair extensions process in detail.
Selecting the Right Tape-in Hair Extensions
Before you begin the tape-in hair extensions process, it’s essential to select the right extensions. Tape-in extensions come in various lengths, colors, and textures, so it’s essential to choose the set that best matches your natural hair.
When selecting tape-in hair extensions, consider the length and thickness of your natural hair. If you have thin or fine hair, choose a set of extensions that are lightweight and won’t cause damage to your natural hair. If you have thick hair, choose a set of extensions that are thick and voluminous to blend seamlessly with your natural hair.
Preparing the Hair
Once you have selected the right set of tape-in hair extensions, it’s time to prepare the hair for installation. The first step in preparing the hair is to wash and dry it thoroughly. This will help to remove any buildup or residue from the hair, making it easier for the extensions to adhere.
Next, section off the hair into small sections using clips or elastics. This will help to ensure that the extensions are evenly distributed throughout the hair.
Attaching the Extensions
Now that the hair is prepared, it’s time to attach the tape-in hair extensions. Follow these steps to attach the extensions:
Step 1: Remove the Protective Film
Start by removing the protective film from the adhesive side of the extensions. This will expose the sticky side of the extensions, which will be used to attach them to the hair.
Step 2: Apply the Extensions
Place the extensions on the section of hair, making sure that the sticky side of the extension is facing down towards the scalp. Press the extension firmly onto the hair, making sure that it is securely attached.
Step 3: Seal the Extensions
Once the extension is in place, use a flat iron to seal the adhesive. This will help to ensure that the extension stays securely in place and prevents it from slipping or falling out.
Step 4: Repeat the Process
Continue attaching the extensions to the hair, working your way up towards the crown of the head. Be sure to leave enough space between the extensions to prevent them from tangling or matting.
Step 5: Style the Hair
Once all of the extensions are in place, style the hair as desired. You can curl, straighten, or blow-dry the hair, just be sure to avoid applying heat directly to the tape-in extensions, as this can cause damage to the adhesive.
Maintenance and Removal
To ensure that your tape-in hair extensions last as long as possible, it’s important to follow a few maintenance tips. Avoid using oil-based hair products, as these can cause the adhesive to weaken and the extensions to slip out. Additionally, be gentle when brushing or combing the hair, as pulling or tugging on the extensions can cause damage to both the extensions and your natural hair.
When it’s time to remove the extensions, you can either have them professionally removed by a stylist or remove them yourself using a special adhesive remover. Be sure to use a gentle adhesive remover that won’t damage your natural hair, and follow the instructions carefully to avoid any damage.

