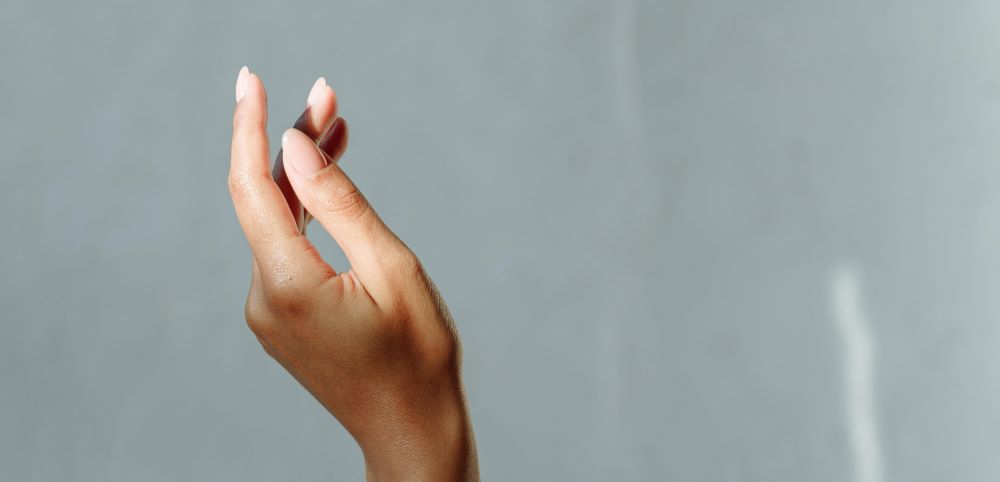
The French fade manicure, also known as the baby boomer nails, is a trendy and elegant nail design that combines the classic French manicure with a seamless gradient effect. This sophisticated style features a soft transition from a nude or pink base to a white tip, creating a graceful and modern twist. If you’re ready to elevate your nail game and achieve salon-quality results at home, this guide will walk you through the step-by-step process of creating a flawless French fade manicure.
How To Do The French Fade Manicure
Gathering Your Tools and Materials: Before delving into the intricate process, make sure you have all the necessary tools and materials ready. Here’s what you’ll need:
- Nail polish: A neutral or blush shade for the base and a white polish for the tip.
- A base coat and a top coat.
- Makeup sponge or latex-free sponge.
- Nail polish remover and cotton pads.
- Cuticle pusher and nippers.
- Nail file and buffer.
- Nail polish corrector pen or brush.
- Nail art brush or a small paintbrush.
- Nail polish thinner (optional).
- Quick-drying nail polish drops (optional).
Preparing Your Nails:
1. Remove any existing nail polish and ensure your nails are clean and dry.
2. Shape your nails to your desired length and gently buff the surface to create a smooth canvas.
3. Push back your cuticles using a cuticle pusher, and carefully trim any excess with nippers.
4. Apply a thin layer of base coat to protect your nails and promote long-lasting wear.
Creating the French Fade:
1. Start by applying your chosen neutral or blush shade as the base color. Apply two thin coats, allowing each layer to dry completely.
2. Once your base color is dry, pour a small amount of white polish onto a palette or piece of foil.
3. Take your makeup sponge and lightly dampen it with water. Squeeze out any excess moisture.
4. Dip the edge of the sponge into the white polish, ensuring only a small portion is covered.
5. Gently press the sponge onto the tip of your nail, starting at the free edge and working your way up toward the base. Use a dabbing motion to create a gradient effect.
6. Repeat this process on all nails, ensuring the gradient is consistent.
If needed, you can add additional layers to intensify the white tip. Just make sure to allow each layer to dry before applying the next.
See our Article on How to Remove Gel Nail Polish
Finishing Touches:
1. Clean up any excess polish on your skin using a nail polish corrector pen or brush dipped in nail polish remover.
2. Once your French fade is dry, apply a thin layer of top coat to seal and protect your manicure. This will also enhance the glossy finish.
3. Allow your nails to dry completely, and if desired, speed up the process with quick-drying nail polish drops.
4. Clean any remaining residue around the cuticles with a cotton pad soaked in nail polish remover.
5. Hydrate your cuticles and hands by massaging in a nourishing cuticle oil or hand cream.

By following this step-by-step guide, you can achieve the coveted French fade manicure with professional results. Remember to take your time and be patient during each stage of the process. With practice, you’ll develop the skills to create stunning nails that exude elegance and style.
Embrace your creativity, experiment with different color combinations, and enjoy the beautiful and timeless appeal of the French fade manicure
See our Article on How to Repair Your Nails After Gels or Acrylics
