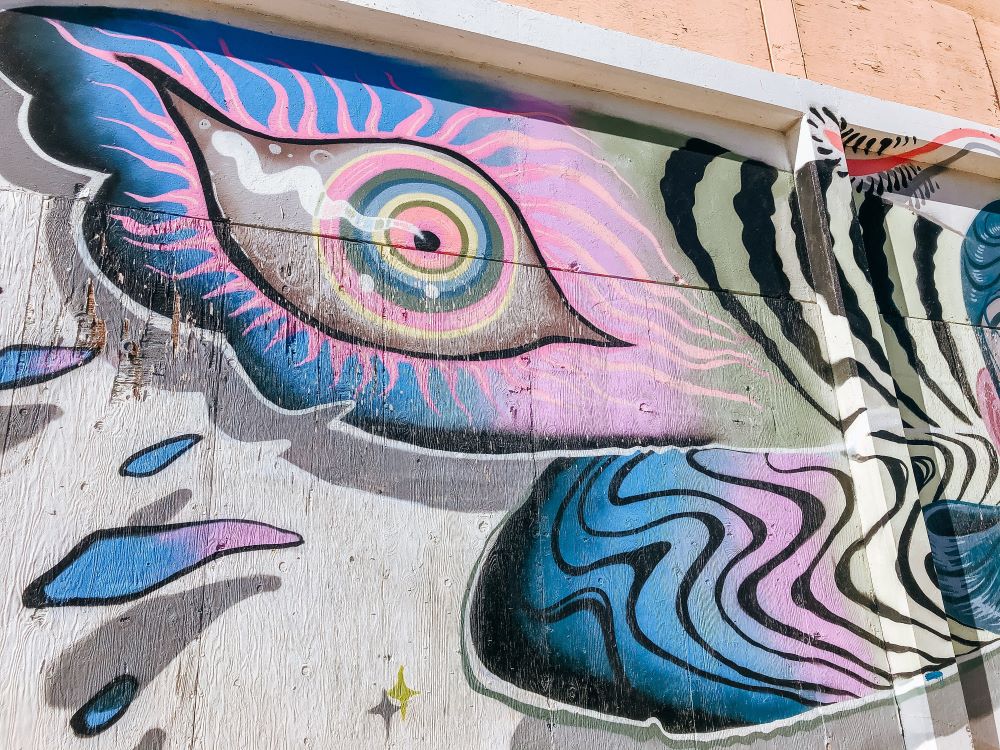
Painting an eye can be a challenging but rewarding experience for artists. Acrylics offer versatility and vibrant colors that can bring an eye to life on canvas. In this step-by-step guide: painting an eye with acrylics we will walk you through the process of painting an eye using acrylic paints. So, grab your brushes and let’s get started!
Gathering Materials
Before you begin painting, it’s important to gather all the necessary materials. Here’s what you’ll need:
- Canvas or canvas board
- Acrylic paints (colors: white, black, various shades of blue, brown, and other colors for the iris)
- Palette or mixing tray
- Paintbrushes (a small round brush, a fine liner brush, and a flat brush)
- Palette knife (optional)
- Water container
- Paper towels
Preparing the Canvas
- Start by selecting a canvas or canvas board of your preferred size.
- Ensure the surface is clean and free of dust or debris.
- If needed, apply a thin layer of gesso to prime the canvas, allowing it to dry before proceeding.
Sketching the Eye
- Use a pencil to lightly sketch the basic outline of the eye on the canvas.
- Begin with a simple almond shape for the eye, adding a curved line above for the upper eyelid and a shorter one below for the lower eyelid.
- Sketch the iris and the pupil within the eye, ensuring proper proportions and positioning.
Blocking in the Colors
- Start by blocking in the base colors. Apply a thin layer of white acrylic paint to the eye area.
- Once dry, mix a light blue color and apply it to the entire iris area using a flat brush.
- Gradually add darker shades of blue and other desired colors to the iris, using a smaller brush for more precision.
- Paint the pupil with black or a dark brown color, adding subtle variations and highlights.
Adding Depth and Detail
- Mix a slightly darker shade of the base eye color and paint the upper eyelid, leaving a thin strip of white for highlights.
- Use a fine liner brush and black paint to carefully define the lashes and the lower eyelid.
- Add shadows and highlights to the iris and the whites of the eye, creating a sense of depth and dimension.
- Pay attention to light reflections and small blood vessels to enhance realism.
Refining the Eye
- Smooth out any harsh edges or transitions between colors using a clean brush or a palette knife.
- Adjust the values, highlights, and shadows as necessary to achieve the desired effect.
- Add details such as catchlights (light reflections) on the iris and the surface of the eye.
Finishing Touches
- Allow the painting to dry completely before making any final adjustments.
- Evaluate the overall composition and make any necessary refinements.
- Sign your artwork in the corner with your preferred signature or initials.
