How to Make a Luxurious Homemade Chocolate Face Mask
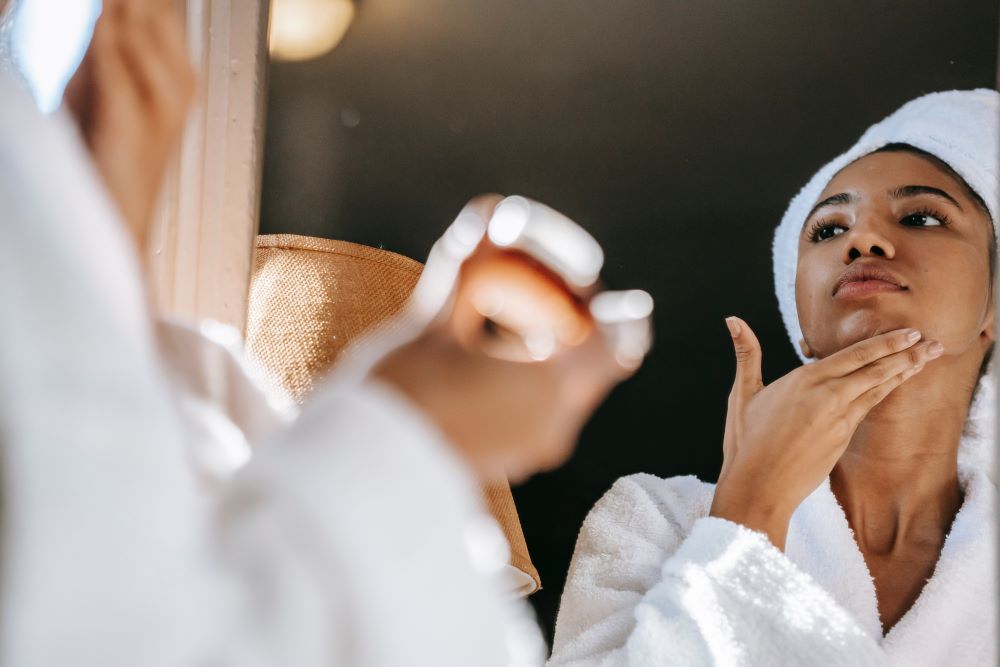
Pampering your skin with natural ingredients can be a delightful and effective way to maintain its health and glow. One such indulgence is the homemade chocolate face mask, which not only smells heavenly but also offers a multitude of skin benefits. This is our take on a montagne chocolate face masque, Why buy when you can make your own.
Benefits of a Chocolate Face Mask
Before we dive into the recipe, let’s explore the remarkable benefits of using chocolate in your skincare routine:
- Antioxidant Power: Chocolate, especially dark chocolate, is rich in antioxidants like flavonoids. These antioxidants help protect your skin from free radicals, preventing premature aging and improving skin texture.
- Moisturization: The natural oils in chocolate, along with other mask ingredients, help lock in moisture and keep your skin hydrated, leaving it soft and supple.
- Cocoa for Radiance: Cocoa is known to boost blood circulation, giving your skin a radiant glow. It can also improve skin tone and complexion.
- Acne and Blemish Control: Chocolate contains compounds that can help control excess oil production, reducing the likelihood of acne breakouts. Its anti-inflammatory properties can also soothe irritated skin.
- Stress Reduction: The scent of chocolate is not just pleasing to the nose; it can also have a calming effect, reducing stress and promoting relaxation.
Now that you’re aware of the wonderful benefits, let’s move on to the fun part – creating your homemade chocolate face mask!
Ingredients You Will Need
Here’s a list of ingredients you’ll need to prepare your luxurious chocolate face mask:
- Cocoa Powder: Choose unsweetened, high-quality cocoa powder, as it contains more antioxidants and fewer additives. Cocoa powder is the star of this mask, providing the delightful chocolate aroma and all the skin-loving benefits.
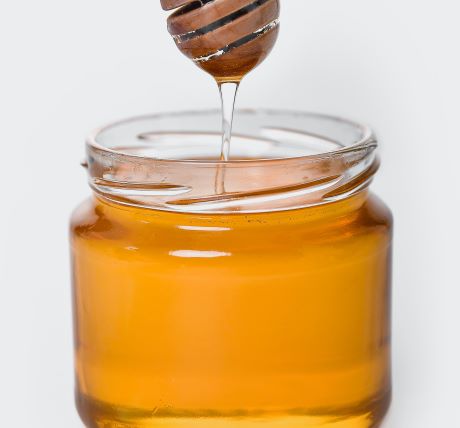
- Honey: Honey is a natural humectant that helps to retain moisture in the skin. It also has antibacterial properties, which can be beneficial for acne-prone skin.
- Yogurt: Yogurt is an excellent source of lactic acid, which acts as a gentle exfoliant. It helps remove dead skin cells, brightening your complexion and improving skin texture.
- Olive Oil: Olive oil is packed with vitamins and healthy fats that nourish and moisturize the skin. It’s particularly great for dry or sensitive skin types.
- Oatmeal (Optional): Oatmeal can add a soothing and calming element to your mask, making it ideal for those with sensitive or irritated skin. It also helps with exfoliation.
- Essential Oil (Optional): For an extra touch of luxury, you can add a drop or two of your favorite essential oil, such as lavender or rose, to enhance the aroma and add additional skincare benefits.
Which Fruit is the Best for a Natural Anti Aging Face Mask?

How to Make the Chocolate Face Mask
Now, let’s get into the step-by-step process of creating your homemade chocolate face mask:
Step 1: Gather Your Ingredients
Collect all the ingredients listed above. Make sure you have the right quantities for your desired mask. A typical recipe might include two tablespoons of cocoa powder, one tablespoon of honey, one tablespoon of yogurt, and a teaspoon of olive oil.
Step 2: Mix the Ingredients
In a clean bowl, combine the cocoa powder, honey, yogurt, and olive oil. Stir the mixture well until it forms a smooth, consistent paste. If you’re using oatmeal, you can add a teaspoon at this stage for added exfoliation.
Step 3: Optional: Add Essential Oil
If you wish to enhance the aroma and add more skin benefits, add a drop or two of your chosen essential oil. Be cautious not to overdo it, as essential oils are potent.
Step 4: Cleanse Your Face
Before applying the mask, it’s essential to cleanse your face thoroughly to remove any makeup, dirt, or impurities. Use a gentle cleanser suitable for your skin type.
Step 5: Apply the Chocolate Face Mask
Using clean fingers or a brush, apply the chocolate mask evenly to your face and neck. Avoid the delicate skin around your eyes. Be gentle while applying to prevent any irritation.
Step 6: Relax and Wait
Now, it’s time to relax and let the mask work its magic. Find a comfortable place to sit or lie down and leave the mask on for about 15-20 minutes. Use this time to unwind, listen to soothing music, or practice deep breathing.
Step 7: Rinse Off
After the designated time has passed, use lukewarm water to rinse off the mask. Gently massage your face in circular motions as you wash it away. This will help exfoliate your skin further.
Step 8: Moisturize
Once you’ve completely removed the mask, pat your face dry with a clean towel. Finish by applying your favorite moisturizer to lock in the benefits of the mask and keep your skin hydrated.

See Our Article Unlock Radiant Skin with These Exceptional Tips
Indulging in a homemade chocolate face mask is a delightful way to pamper your skin. Not only does it smell heavenly, but it also offers numerous skin benefits, including antioxidant protection, moisture retention, improved complexion, and acne control. With just a few simple ingredients and easy steps, you can create your own luxurious chocolate face mask at home. So, go ahead and treat yourself to a spa-like experience that leaves your skin feeling rejuvenated and radiant. Your skin will thank you for it!
If You Liked This Article See Our Article Top 3 DIY Organic Face Masks for Glowing Skin
