Learn how to grow your own microgreens at home and the pros and cons of this simple indoor gardening method. Discover easy steps, tools, and benefits of harvesting fresh, nutrient-packed greens from your kitchen.
If you’ve ever dreamed of having a fresh, nutrient-rich food source right in your kitchen, learning how to grow your own microgreens at home might be exactly what you need. These tiny greens—essentially young vegetable seedlings—are packed with vitamins, minerals, and antioxidants. Growing them indoors is one of the most accessible ways to enjoy healthy eating without needing a large garden or expensive equipment.
What Are Microgreens?
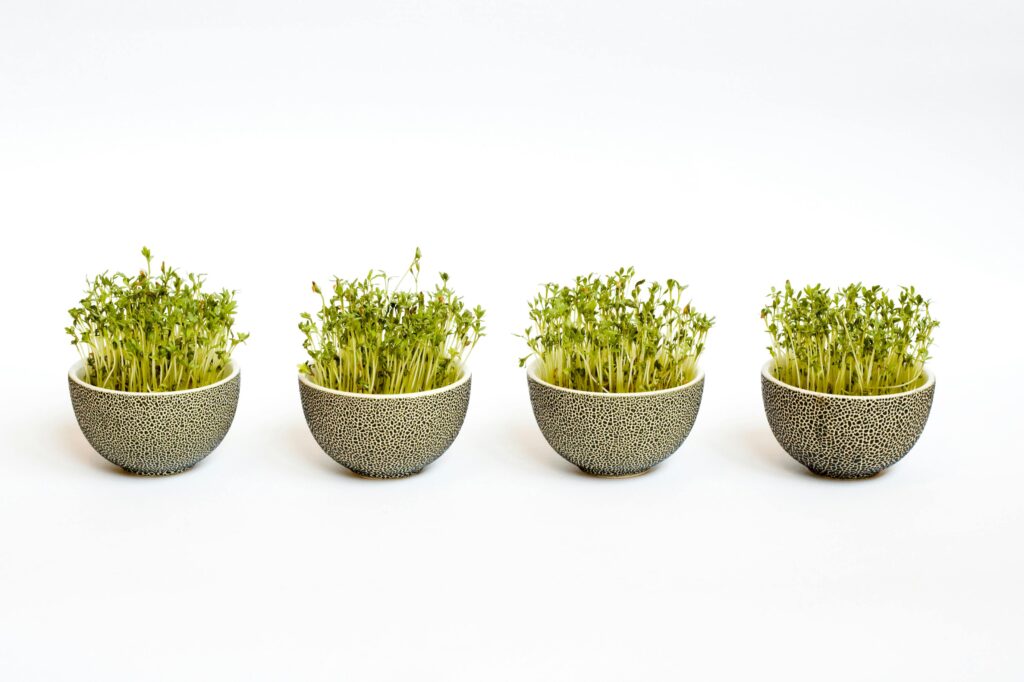
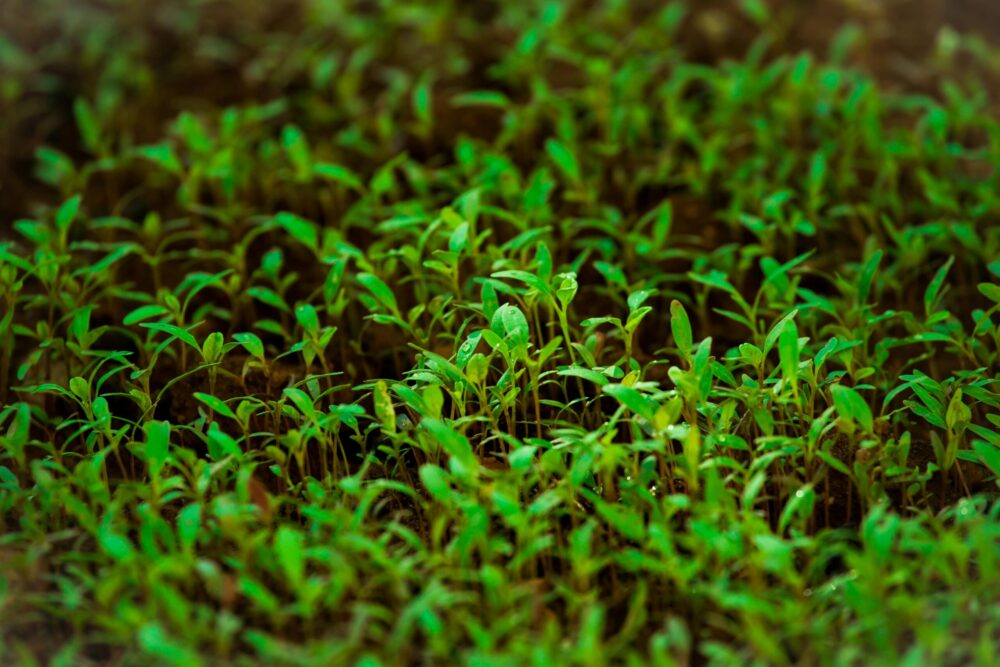
Microgreens are the early sprouts of edible vegetables and herbs such as kale, radish, broccoli, sunflower, or arugula. They’re harvested when they’re just a few inches tall, usually within two weeks of planting. Despite their size, they deliver intense flavours and a powerful nutritional punch. Many home gardeners refer to them as “superfood seedlings” because of their high vitamin content compared to mature plants.
Why Grow Microgreens at Home?
Homegrown microgreens are a favorite for people seeking quick-growing indoor plants that require minimal space. They fit perfectly into kitchen countertop gardening setups, and you can even grow them on a sunny windowsill. Unlike traditional gardening, this method doesn’t need soil beds, fertilizers, or much time—just simple trays, seeds, and light.
Other appealing reasons include:
- Year-round harvest: You can grow them regardless of the season.
- Compact growing area: Ideal for apartments or small homes.
- Quick results: Seeds sprout in days and are ready to eat within weeks.
- Sustainability: Reduces food waste and the carbon footprint from store-bought greens.

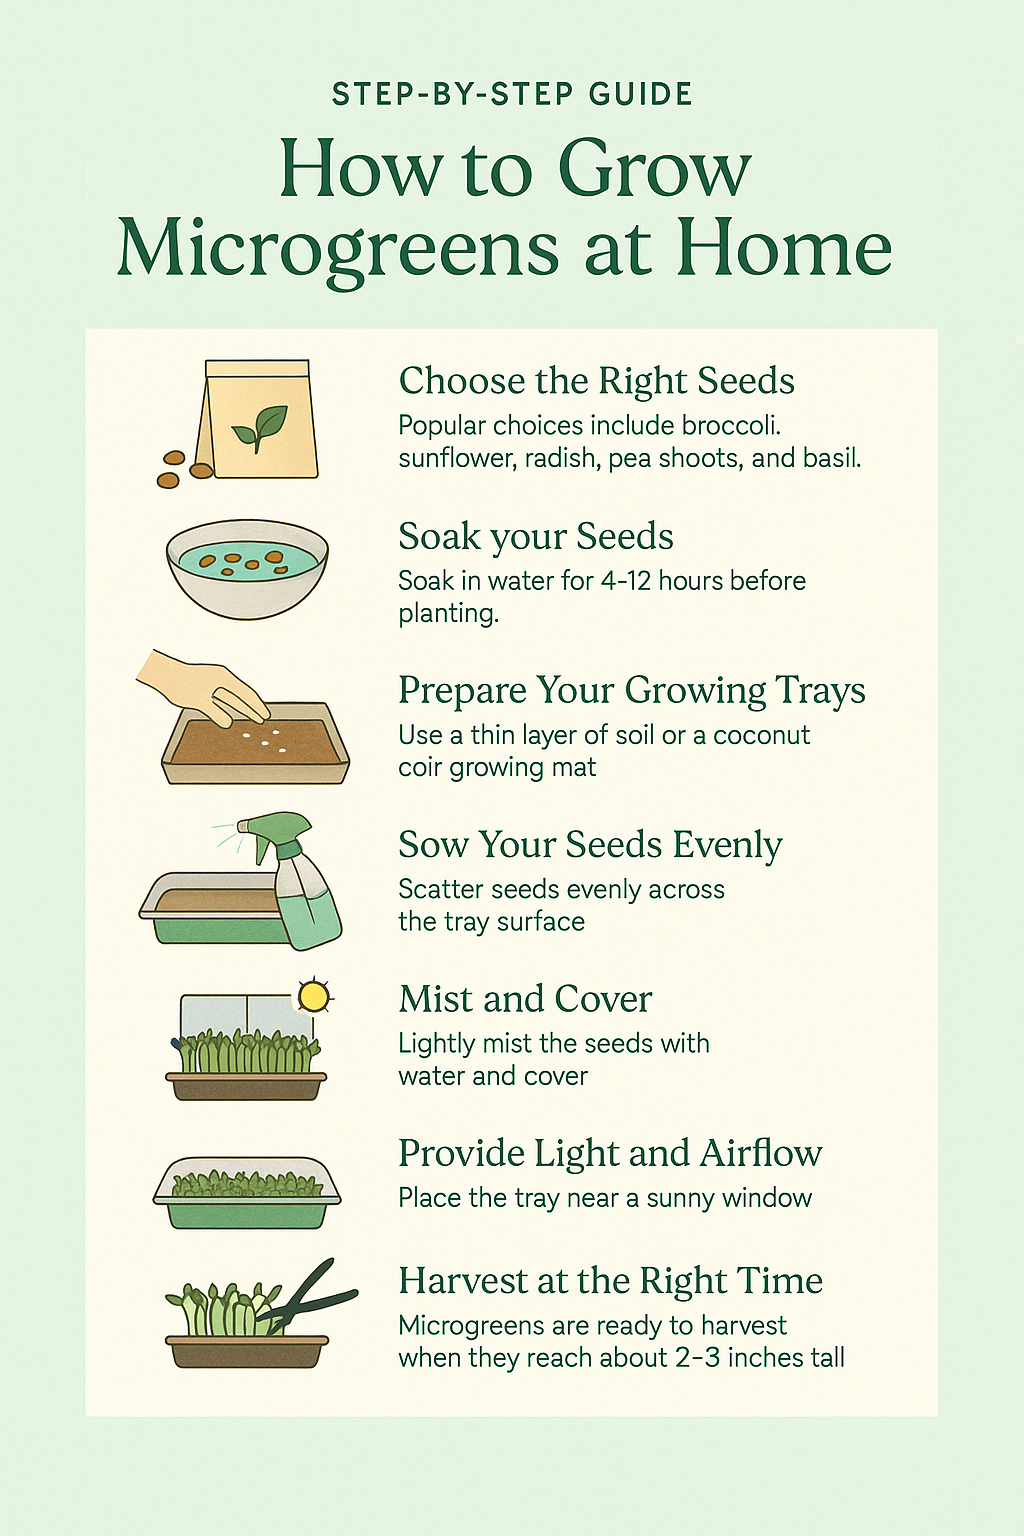
Step-by-Step Guide How to Grow your own Microgreens at Home
1. Choose the Right Seeds
Opt for organic seeds designed specifically for microgreen cultivation. Popular choices include broccoli, sunflower, radish, pea shoots, and basil. These are beginner-friendly and yield consistent results.
2. Soak your Seeds
You need to prepare your seeds by soaking in water for 24 hours before planting.
3. Prepare Your Growing Trays
Use shallow trays with drainage holes. Line the bottom with a thin layer of organic soil or a coconut coir growing mat. This medium helps retain moisture while preventing waterlogging.
4. Sow Your Seeds Evenly
Scatter seeds evenly across the tray surface—don’t overcrowd them. Press them gently into the soil using your hand or a flat board to ensure contact.
5. Mist and Cover
Lightly mist the seeds with water and cover the tray with a lid or another tray to create a humid environment. This encourages fast germination.
6. Provide Light and Airflow
Once seeds sprout, remove the cover and place the tray near a sunny window or under LED grow lights. Maintain good air circulation to prevent mold.
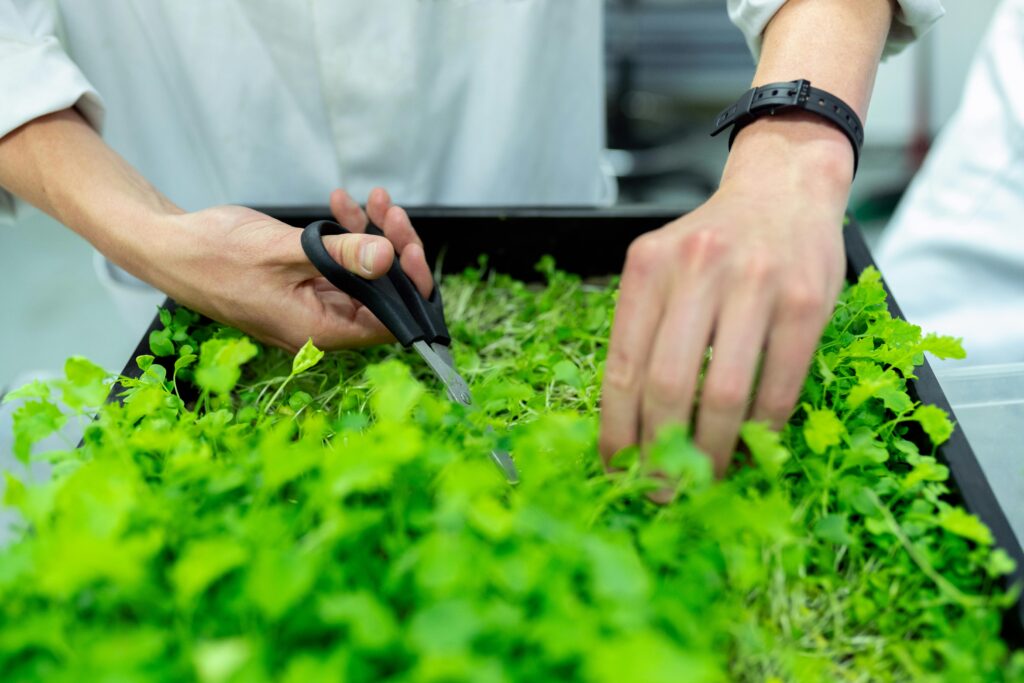
7. Harvest at the Right Time
Microgreens are ready to harvest when they reach about 2–3 inches tall—usually 10–14 days after planting. Use scissors to snip the stems just above the soil line.

Pros of Growing Microgreens at Home
- Highly Nutritious: Microgreens can contain up to 40 times more nutrients than mature greens.
- Fast Harvest Cycle: You can enjoy fresh greens every two weeks.
- Low Maintenance: Requires minimal tools and effort.
- Budget-Friendly: A small investment in seeds and trays can provide endless harvests.
- Aesthetic and Flavorful: Adds vibrant color and bold taste to your meals.
Cons of Growing Microgreens at Home
- Short Shelf Life: Once harvested, microgreens stay fresh for only a few days.
- Mold Risk: Poor ventilation or overwatering can cause fungal growth.
- Limited Quantity: Yields are small, suitable for garnish or personal meals, not large-scale use.
- Daily Attention: Regular watering and light management are necessary for success.
Tips for Success
To get the most from your microgreen setup:
- Pre-soak your seeds for 24 hours before planting
- Rotate trays daily for even light exposure.
- Use filtered water to avoid mineral buildup.
- Try different seed mixes for variety.
- Keep trays clean to prevent contamination.
Growing nutrient-packed sprouts at home can easily become a rewarding hobby. It’s a sustainable, low-maintenance way to enjoy fresh produce all year round, no matter where you live.
