Smokey Eye Face of Day
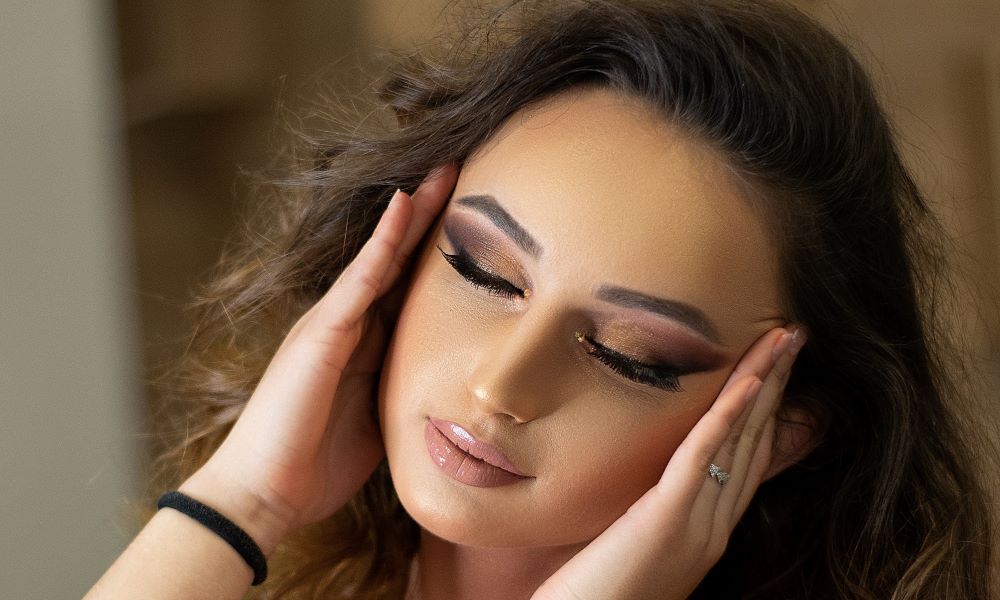
The smokey eye makeup look is a timeless classic that adds drama, depth, and allure to any occasion. Whether you’re preparing for a glamorous night out or simply want to enhance your everyday makeup routine, mastering the smokey eye technique is a must.
In this tutorial, we will guide you through the step-by-step process of creating a stunning smokey eye that will make your eyes pop and turn heads wherever you go.
Step 1: Prepping the Canvas
Before diving into the actual eyeshadow application, it’s essential to prepare your eyelids for a flawless and long-lasting smokey eye. Start by cleansing your face and applying a primer specifically designed for the eyelids. This will ensure that your eyeshadow stays in place throughout the day or night.
Step 2: Laying the Foundation
To create a seamless base for your smokey eye, apply a neutral eyeshadow shade all over your eyelids. This will act as a base and help the darker shades blend effortlessly. Choose a shade that matches your skin tone or opt for a slightly lighter shade to brighten the eyes.
Step 3: Building Depth with Transition Shades
To achieve the iconic smokey effect, you’ll need a range of eyeshadow shades that seamlessly blend from light to dark. Start by applying a transition shade to the crease of your eyelid. This shade should be slightly darker than your natural skin tone and will serve as a buffer between the base color and the darker shades.
Step 4: Intensifying the Look with Darker Shades
Now it’s time to bring in the drama! Select a dark eyeshadow shade, such as charcoal gray, deep brown, or black, and apply it to the outer corner of your eye. Using a small, tapered blending brush, gently blend the color towards the center of your eyelid, focusing on the outer V shape. This will create depth and intensity.
Step 5: Blending for Seamless Transitions
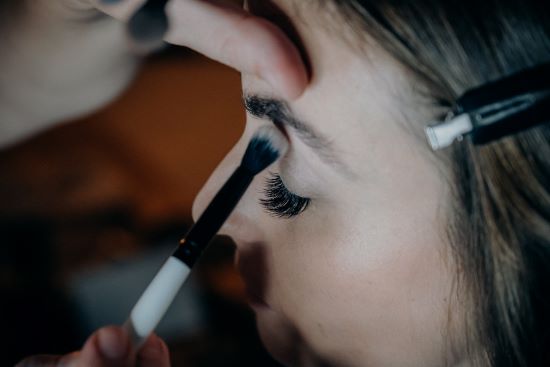
Blending is the key to achieving a professional-looking smokey eye. Use a clean blending brush to blend the transition and dark shades together, creating a seamless gradient. Make small, circular motions to soften any harsh lines and ensure that the colors meld together beautifully.
Step 6: Adding Shimmer and Highlights
For an extra touch of glamour, introduce a shimmery eyeshadow to the center of your eyelid. This will draw attention to your eyes and make them appear more vibrant. Apply the shimmer shade with a flat eyeshadow brush and gently pat it onto the center, avoiding the outer corners.
Step 7: Defining the Lower Lash Line
To complete the smokey eye look, don’t forget about the lower lash line. Use a smudge brush or a small angled brush to apply a dark eyeshadow shade along the lower lash line, connecting it to the outer corner of the upper lid. This will add symmetry and intensity to your overall eye makeup.
Step 8: Finishing Touches
To ensure that your smokey eye lasts all day or night, set it with a light dusting of translucent powder. This will prevent creasing and keep the eyeshadow in place. Finish the look by curling your lashes, applying mascara, and optionally adding false lashes for extra drama.
For a sunkissed makeup base read Sunkissed Makeup Look Without Using Self-Tanner

With a little practice and the right techniques, you can confidently master the art of the smokey eye. Remember to choose shades that complement your eye color and skin tone, and don’t be afraid to experiment with different textures and finishes. Whether you’re attending a special event or simply want to elevate your everyday makeup, the smokey eye is a versatile and stunning option that never goes out of style.
