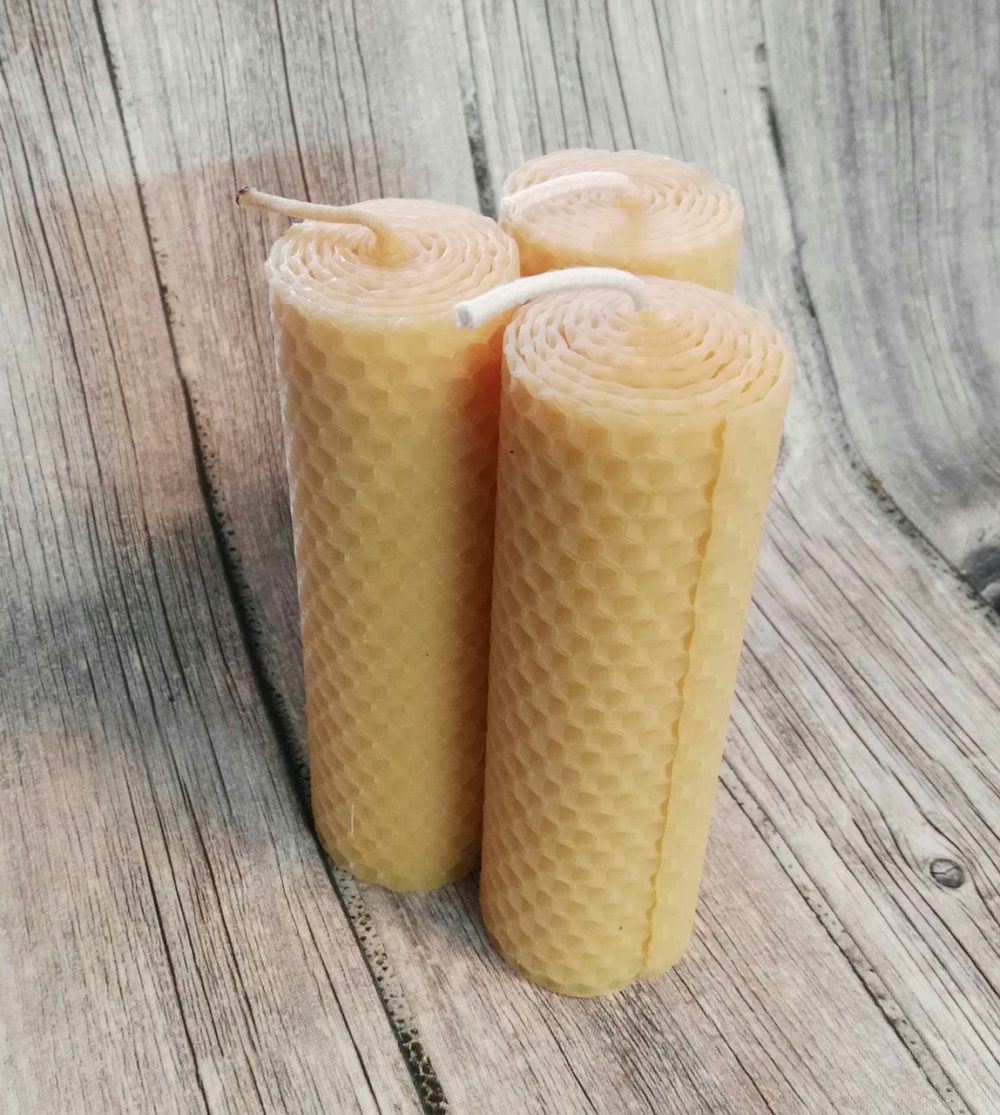
What natural candles can I make?
Beeswax candles are a beautiful and natural alternative to traditional paraffin candles. Not only do they emit a warm and inviting glow, but they are also hypoallergenic and produce little to no soot or smoke. Plus, making your own beeswax candles is a fun and rewarding craft that can save you money in the long run. In this article, we’ll show you how to make homemade beeswax candles with just a few simple ingredients.
Step 1: Gather Your Materials
How To make beeswax candles, you’ll need the following materials:
- Beeswax pellets or blocks
- Wicks
- Wick holders
- Double boiler or a heat-safe bowl and saucepan
- Thermometer
- Wooden spoon
- Scissors
- Container for your candles (such as a mason jar or tin)
You can find most of these materials at your local craft store or online.
Step 2: Prepare Your Container and Wick
Before you begin melting your beeswax, you’ll need to prepare your container and wick. Cut your wick to the desired length, making sure to leave a few extra inches at the top. Tie the top of the wick around a wick holder or a pencil and place it in the center of your container. Make sure it is straight and secure.
Step 3: Melt Your Beeswax
Next, you’ll need to melt your beeswax. If you have a double boiler, fill the bottom pot with water and place the beeswax in the top pot. Heat the water on low to medium heat and stir the beeswax occasionally with a wooden spoon. If you don’t have a double boiler, you can use a heat-safe bowl and saucepan instead. Fill the saucepan with a few inches of water and place the bowl on top, making sure it doesn’t touch the water. Heat the water on low to medium heat and stir the beeswax occasionally.
Use a thermometer to monitor the temperature of the beeswax. Beeswax should be heated to around 145-150 degrees Fahrenheit. Do not heat it above 185 degrees Fahrenheit, as this can cause the wax to discolor and lose its natural fragrance.
Step 4: Pour Your Beeswax
Once your beeswax has melted, carefully pour it into your prepared container. Make sure to pour it slowly and evenly to avoid any air bubbles. You can also add essential oils or other natural scents to your beeswax for added fragrance.
Step 5: Let Your Candles Set
Allow your candles to cool and set for several hours or overnight. Once the wax has hardened, trim the wick to about 1/4 inch from the top of the candle.
Step 6: Enjoy Your Homemade Beeswax Candles!
Your homemade beeswax candles are now ready to use! Light them up and enjoy their warm and inviting glow. Be sure to keep an eye on them while they’re burning, and never leave them unattended.
Tips for Making Beeswax Candles
-
- Use a quality, natural beeswax that hasn’t been processed with chemicals.
- If you want to add fragrance to your candles, use essential oils instead of synthetic fragrances.
- If you’re using a mason jar as your container, place it on a heat-resistant surface to avoid any potential heat damage.
- Experiment with different wick sizes and types to find the best fit for your container and desired burn time.
- Beeswax candles tend to burn longer than traditional paraffin candles, so keep that in mind when determining the size and number of candles you want to make.
- If you’re using beeswax blocks instead of pellets, be sure to grate or chop them into small pieces to help them melt more evenly.
- You can also add natural colorants, such as beetroot powder or turmeric, to your beeswax to create unique and vibrant colors.
- Be sure to clean your equipment thoroughly after making your candles, as beeswax can be difficult to remove once it hardens.
